Kartoza - How to Use Custom Icons in Maputnik (Sprite Sheet Guide)
Learn how to compile custom SVG icons into a Maputnik-friendly sprite sheet using spritezero-cli. We cover generation, GitHub hosting, and symbol layer setup.
The Missing SVG Button
If you have ever tried styling a vector map in Maputnik, you have probably hit this wall: you have a folder full of perfectly designed SVG icons, but there is no simple "Upload SVG" button for your symbol layers.
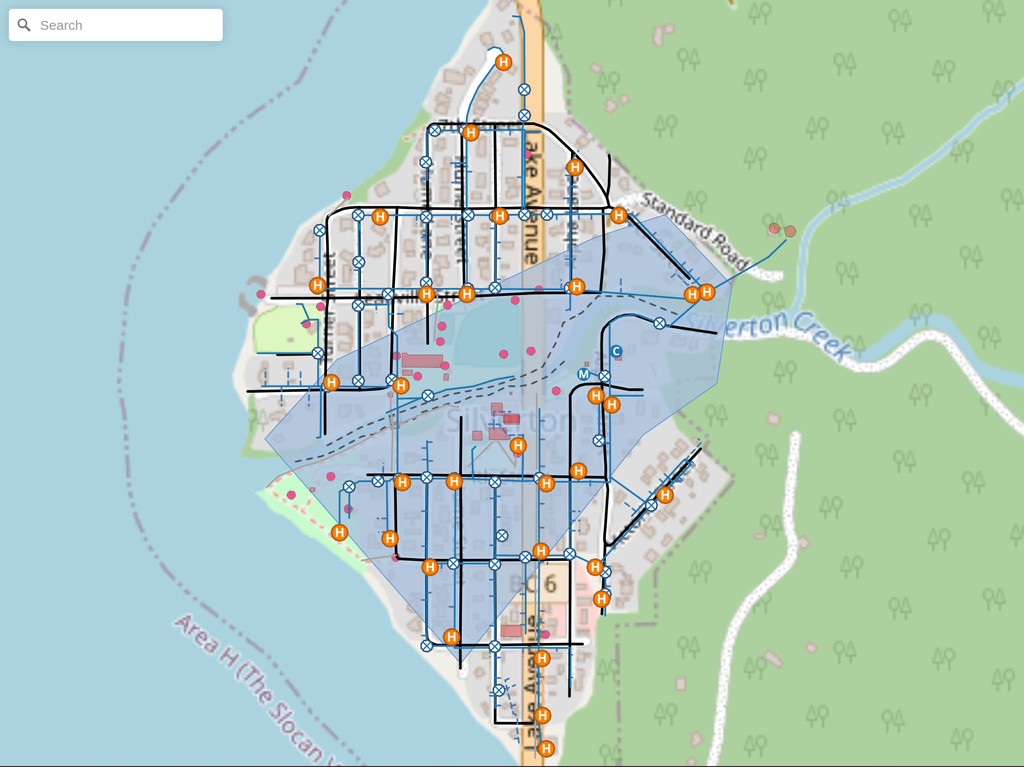
Unlike desktop GIS software, web mapping specifications (like MapLibre and Mapbox GL) are optimised for rendering speed. Loading hundreds of individual SVG files requires too many HTTP requests and bogs down performance. Instead, the style specification requires a sprite sheet: a single raster image (PNG) containing all your icons, paired with an index file (JSON) that tells the map exactly where each icon sits on that image.
Here is a step-by-step technical guide to creating your SVGs, generating a sprite sheet using @beyondtracks/spritezero-cli, and hosting it via GitHub to link directly into Maputnik.
Step 1: Install Spritezero
We will use a command-line tool called spritezero-cli to compile the SVGs. Specifically, we will use the @beyondtracks fork, which is actively maintained. Ensure you have Node.js and npm installed on your machine before beginning.
For Mac/Linux: Open your terminal and install it globally via npm using sudo:
sudo npm install --force -g @beyondtracks/spritezero-cli
You can verify the installation by running /usr/bin/spritezero or simply spritezero.
For Windows: Open Command Prompt or PowerShell (preferably as Administrator) and install it globally without sudo:
npm install --force -g @beyondtracks/spritezero-cli
Verify the installation by running spritezero.
On any operating system, running the verification command will return the tool's usage instructions (<outputfile> <inputdir>) if installed correctly.
Step 2: Prepare Your Workspace and SVGs
Next, we need to set up a working directory. Create a main project folder and a subfolder specifically for your SVGs (these commands work across Mac, Linux, and Windows):
mkdir maputnik-spritescd maputnik-spritesmkdir sprites
Now, create your custom SVG icons (e.g., using Inkscape) and save them directly into the sprites/ directory. Keep your filenames simple and lowercase (e.g., hospital.svg, school.svg), as these will become the IDs you use inside Maputnik.
Step 3: Generate the Sprite Sheets
With your SVGs in the sprites folder, it is time to compile them. The command structure takes the output file prefix first, followed by the input directory.
- Generate standard resolution sprites:
# Syntax: spritezero <output_file_path> <input_directory_path>spritezero sprites sprites
- Generate high-definition (Retina) sprites: It is best practice to generate a high-DPI version for modern screens:
# Syntax: spritezero --retina <output_file_path>@2x <input_directory_path>spritezero --retina sprites@2x sprites
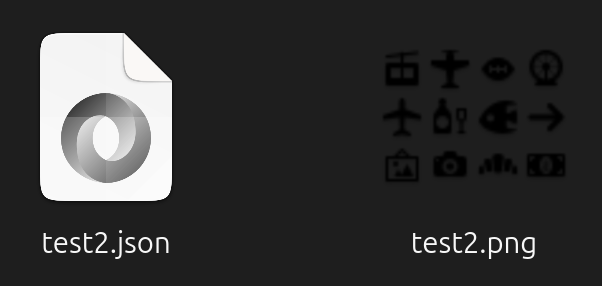
If you run ls (on Mac/Linux) or dir (on Windows) in your root directory, you should now see your compiled files alongside your input folder: sprites/ sprites.json sprites.png sprites@2x.json sprites@2x.png
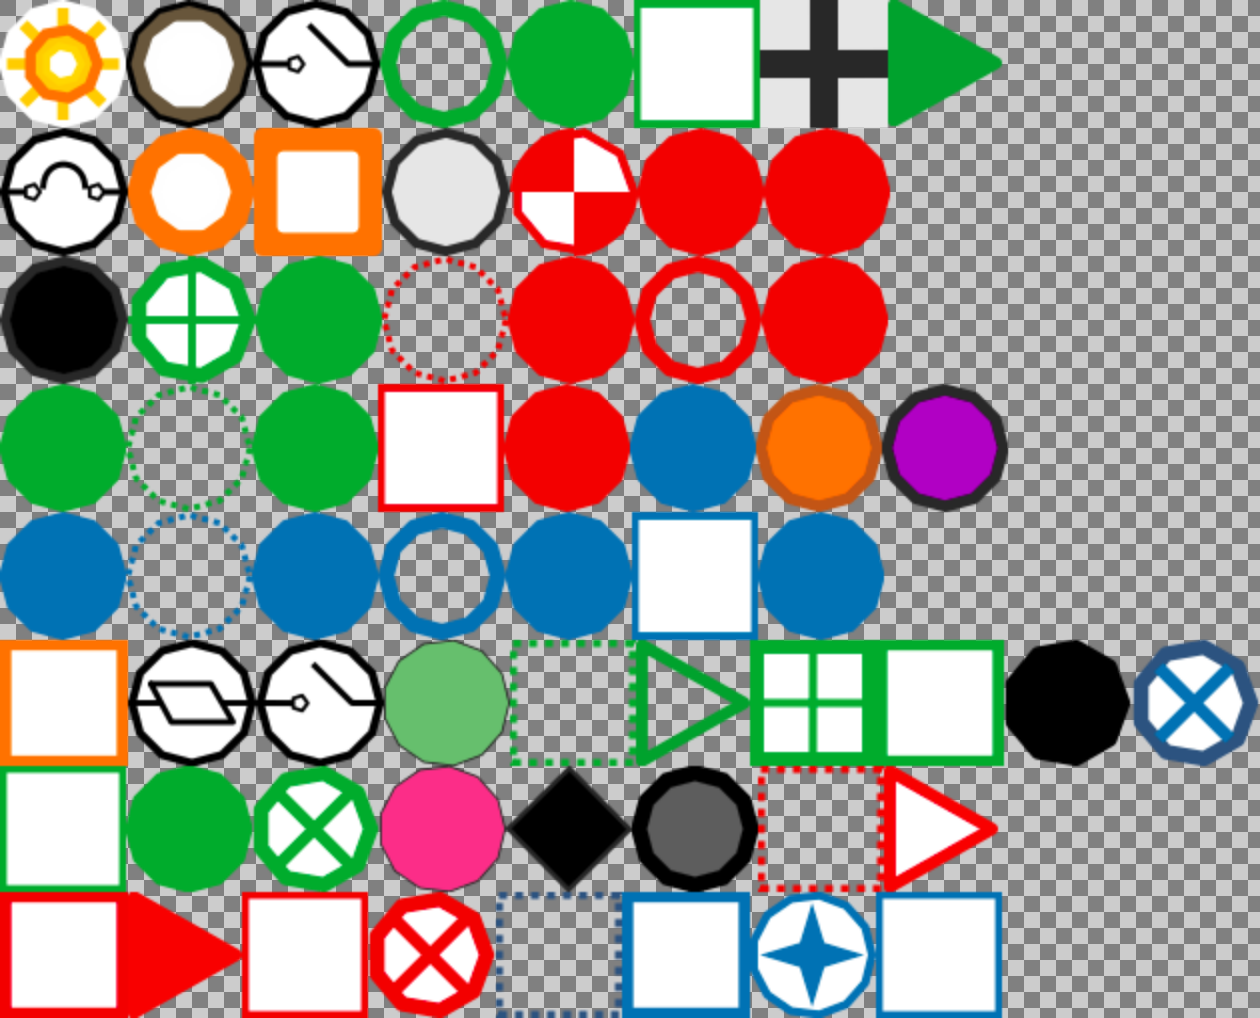
The actual spritesheet.png will look something like the following image if you open it:
Step 4: Host on GitHub and Link to Maputnik
Maputnik needs a live URL to fetch your sprite sheet. A free and highly reliable way to host these files is using a public GitHub repository.
- Create a public repository on GitHub (e.g., named
sprites). - Push your four generated files (
sprites.png,sprites.json,sprites@2x.png,sprites@2x.json) to the main branch.
- Get the correct URL. You cannot use the standard GitHub repository link. Instead, navigate to the
sprites.jsonfile in your repo and click the Raw button on the right side of the file view. - Copy the URL from your browser's address bar, but strictly remove the
.jsonextension. - Example: If your raw URL is
https://raw.githubusercontent.com/User-Name/sprites/refs/heads/main/sprites.json, you will copy and use:https://raw.githubusercontent.com/User-Name/sprites/refs/heads/main/sprites
Crucial Note: The URL you provide to Maputnik must exclude the file extensions. The rendering engine automatically appends.pngand.jsonwhen making the network requests in the background.
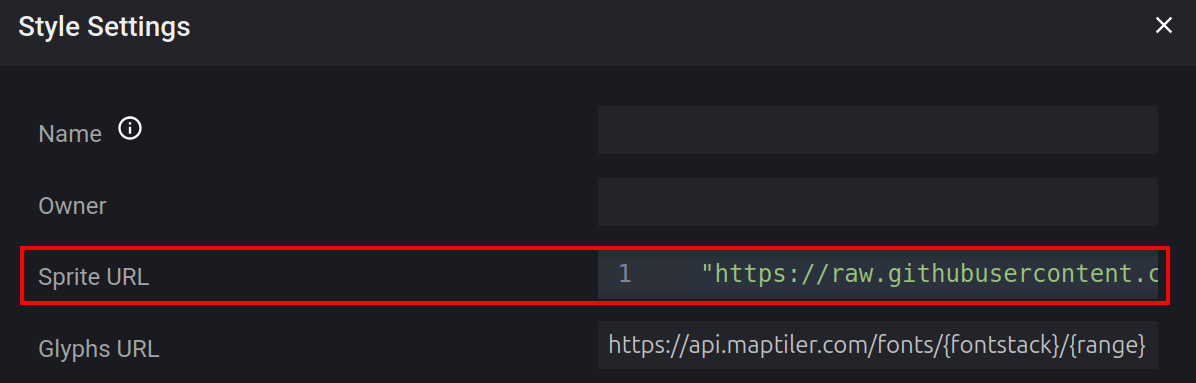
Open Maputnik (if you are not hosting your own instance, you can use the public editor at https://maplibre.org/maputnik/), click Style Settings in the top navigation bar, paste your modified raw GitHub URL into the Sprite URL field, and close the modal.
Step 5: Configure Your Symbol Layer
Now that Maputnik has your sprite sheet, you can apply your custom icons to your map data.
- Create a new Symbol Layer in Maputnik.
- Under the Text Layout Properties group, clear the Text field and Font fields (unless you are adding text back in, as explained below).
- Scroll down to the Icon Layout Properties group.
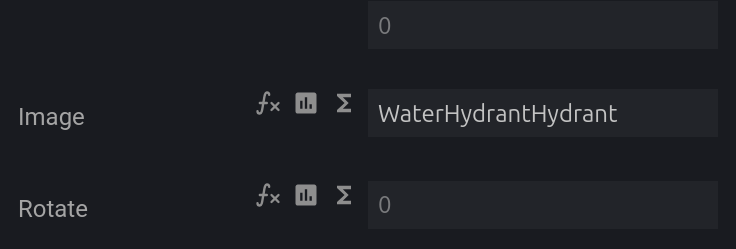
- Click into the Image property field. It should automatically autocomplete based on the names of the SVGs compiled into your hosted
sprites.jsonfile!
Important Note: Handling Text in SVGs
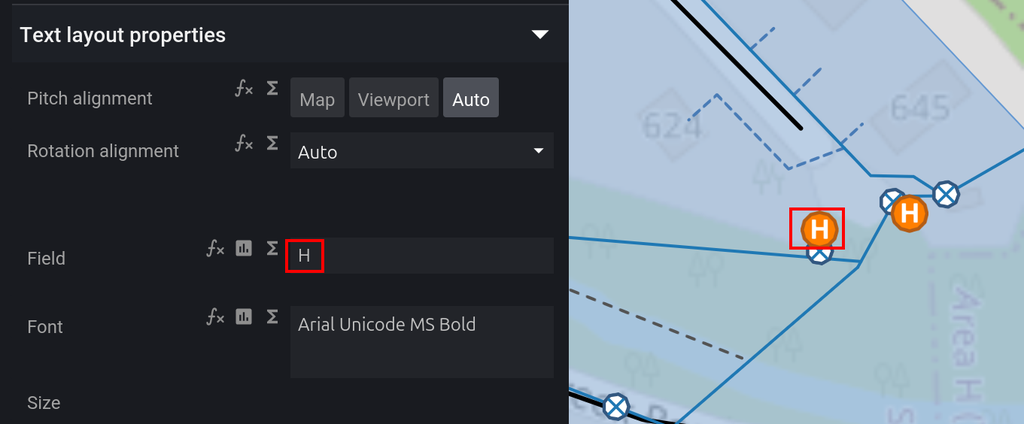
If the original SVG you created has text in it (like a label or a number inside a marker), the text will not be stored in the compiled sprite sheet. The compilation tool strips out standard font elements.
To solve this, you can apply text directly within Maputnik using the same Symbol Layer. Keep your custom icon in the Image field (under Icon Layout Properties), and simply fill in your desired text in the Text field (under Text Layout Properties).
This approach works perfectly if all instances of that symbol will display the exact same text, or if you are dynamically pulling the text from your data attributes (e.g., {name}). If you have a scenario where you need completely separate styling, filtering, or positioning rules for your text versus your icon, you can always create a second, separate Symbol Layer just for the text.
The Kartoza Challenge
Now it is your turn to put this workflow into practice.
- Create a simple SVG icon (like a coffee cup or a warning sign) using Inkscape.
- Use the
spritezerocommands outlined above to generate both standard and retina sprite sheets. - Push the files to a public GitHub repository, grab the raw URL minus the extension (e.g.,
https://raw.githubusercontent.com/User-Name/sprites/refs/heads/main/sprites), link it to a fresh Maputnik style, and successfully render your custom icon on a blank map canvas.
Once you master this workflow, you will never be restricted by default map icons again. Happy styling!



No comments yet. Login to start a new discussion Start a new discussion